Usage manual
You can access your notes by opening the page http://localhost:8000 in any browser on this computer, or from any other device on the network via this computer's IP address, e.g. http://192.168.x.x:8000 (the program runs a local server)
Dashboard
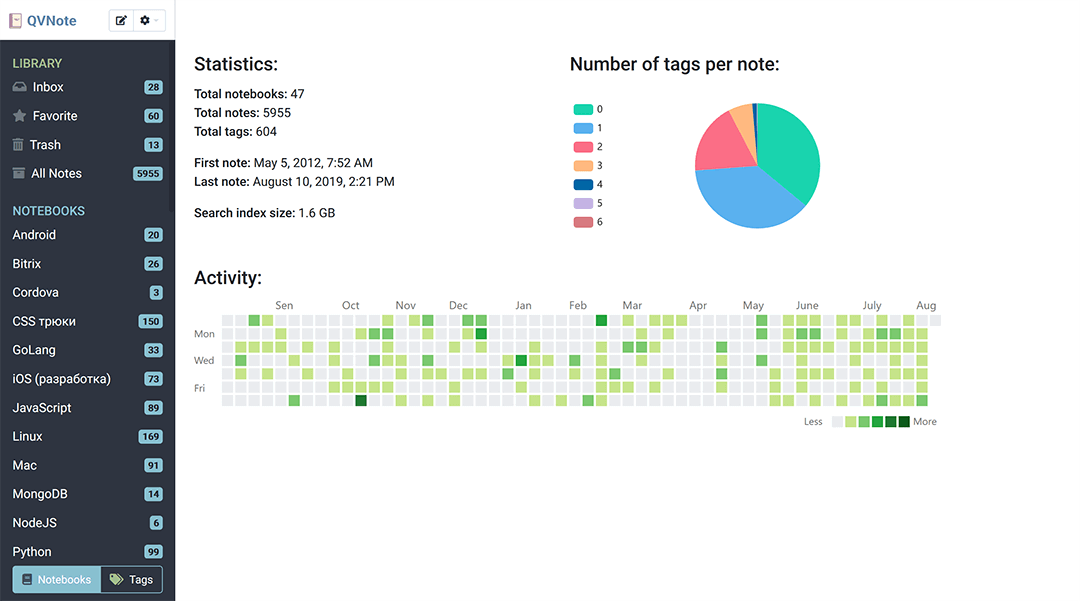
Here you can see the usage statistics. The left column contains a list of notebooks. The page can be accessed by clicking on the QVNote logo in the upper left corner.
Notebooks
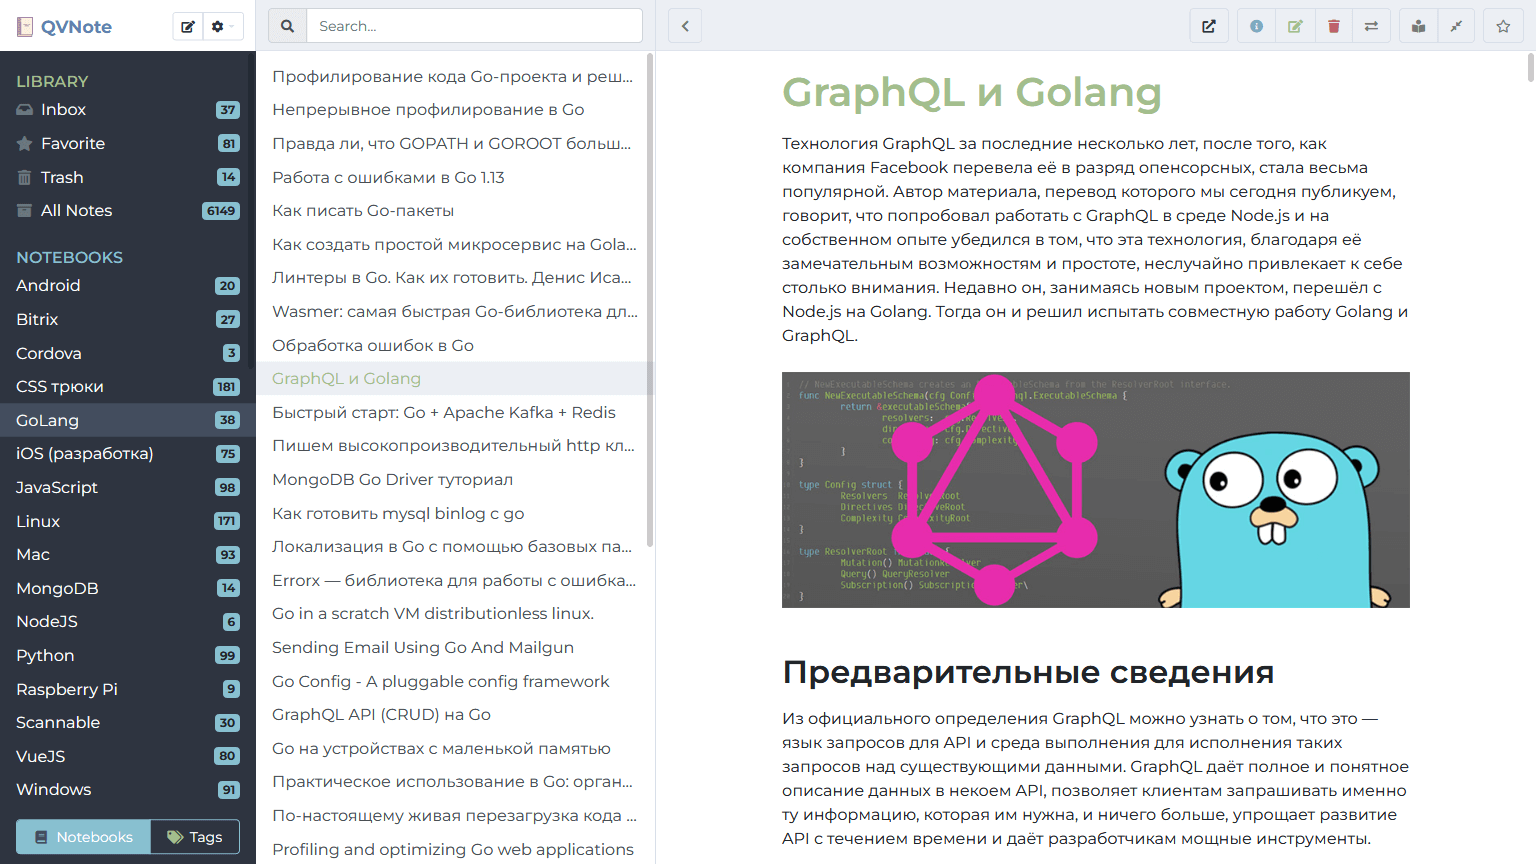
The notebook list is located in the left column. Clicking on the notebook title opens the list of notebook notes and the first (topmost) note. The notes are sorted by date of addition. The selected notebooks and notes are highlighted.
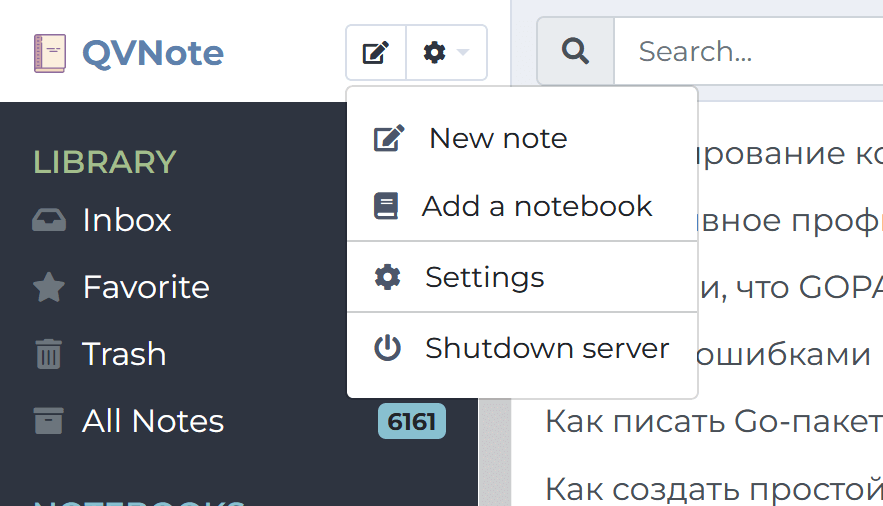
Reading notes
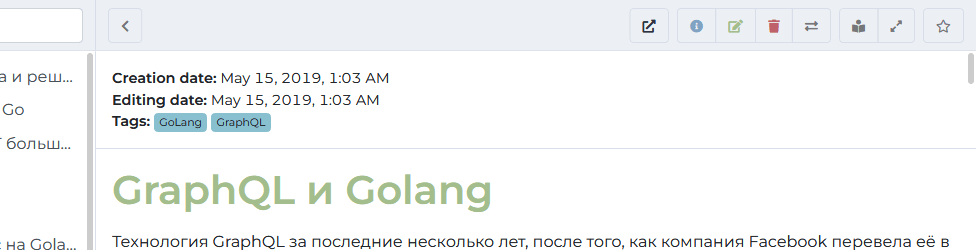
While reading the note, in the upper right corner there are several buttons:
- — opening the original article via an external link (shown for notes saved from a web page)
- — display the date the note was created, the tag list, and other information
- — editing a note
- — delete a note to recycle bin
- — move a note to another notebook
- — enable/disable reading mode
- — expand the note to the full width of the window
- — adding/removing from the list of Favorite notes
- — re-fetch the article from the source URL (see "Saving web pages" below)
Search
The search box is located at the top of the notes list. Start typing — from the third character the note list is instantly replaced with the search results. Use the button to clear the search and return to the full list.
Search covers note titles and full text. Russian and English morphology is supported — different word forms of the same word are found automatically.
If the search results look outdated (for example, after you copied note files into the data folder manually), use the reindexing buttons on the settings page.
Adding/editing notes
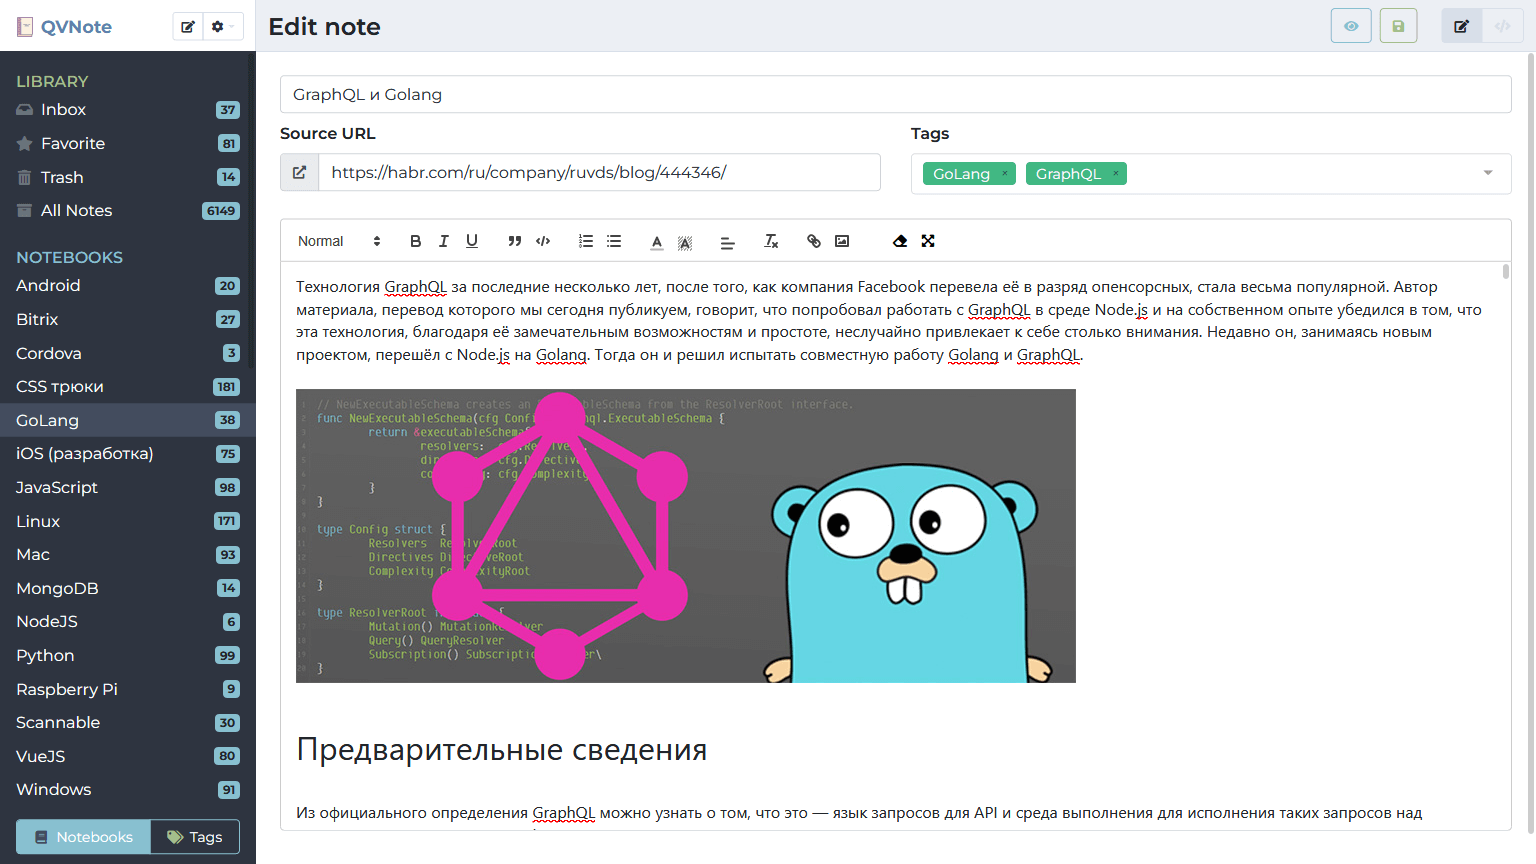
When you create a note, you must specify its name, you can add a link to the original article (for example, when copying a note from an external site) and tags. The editor is based on the HugeRTE rich-text editor. The display of notes may not coincide with the view in the editor, for example, extra spaces, some formatting, font settings, text size, etc.are removed. It is possible to switch to HTML editing mode by pressing the button in the upper left corner of the screen.
Notes come in two types, switchable in the editor header: text and code . Code notes are edited with line numbers and are displayed with syntax highlighting for many programming languages (JavaScript, Python, Bash, JSON, SQL, C/C++, PHP, and more).
To save, use the button
To switch to the note view mode, use the button
When you add tags, a list of existing tags is displayed, and when you add a missing tag, it is automatically added to the tags list.
Saving web pages
QVNote can save articles from the internet: the page is downloaded and cleaned automatically, keeping only the article content without menus, ads, and other clutter.
There are two ways to do it:
- In the editor — press ("Import article from URL"), paste the page address and confirm. The imported article replaces the current editor content and is stored only after you save the note.
- Re-fetch an existing note — for a note that already has a link to the original article, press in the note view. A preview of the downloaded version is shown; confirm it with or cancel with .
Images and storage
When you save a note, all external images in it are downloaded automatically and stored inside the note — the note stays intact even if the original site goes offline. If some image could not be downloaded, its external link is kept as is.
Images are served to the browser in WebP format (smaller size, same quality); the original files are preserved in the data folder.
Two buttons on the settings page help manage storage:
- Storage optimization — downloads external images for all existing notes at once. It is recommended to make a backup of the data folder before running it.
- Clear image cache — removes the derived WebP cache (the original images are not touched).
Tags
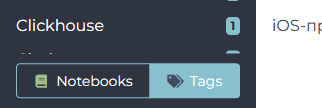
New tags are added automatically when notes are added/changed. Deleting/renaming tags is done through settings page.
Settings page
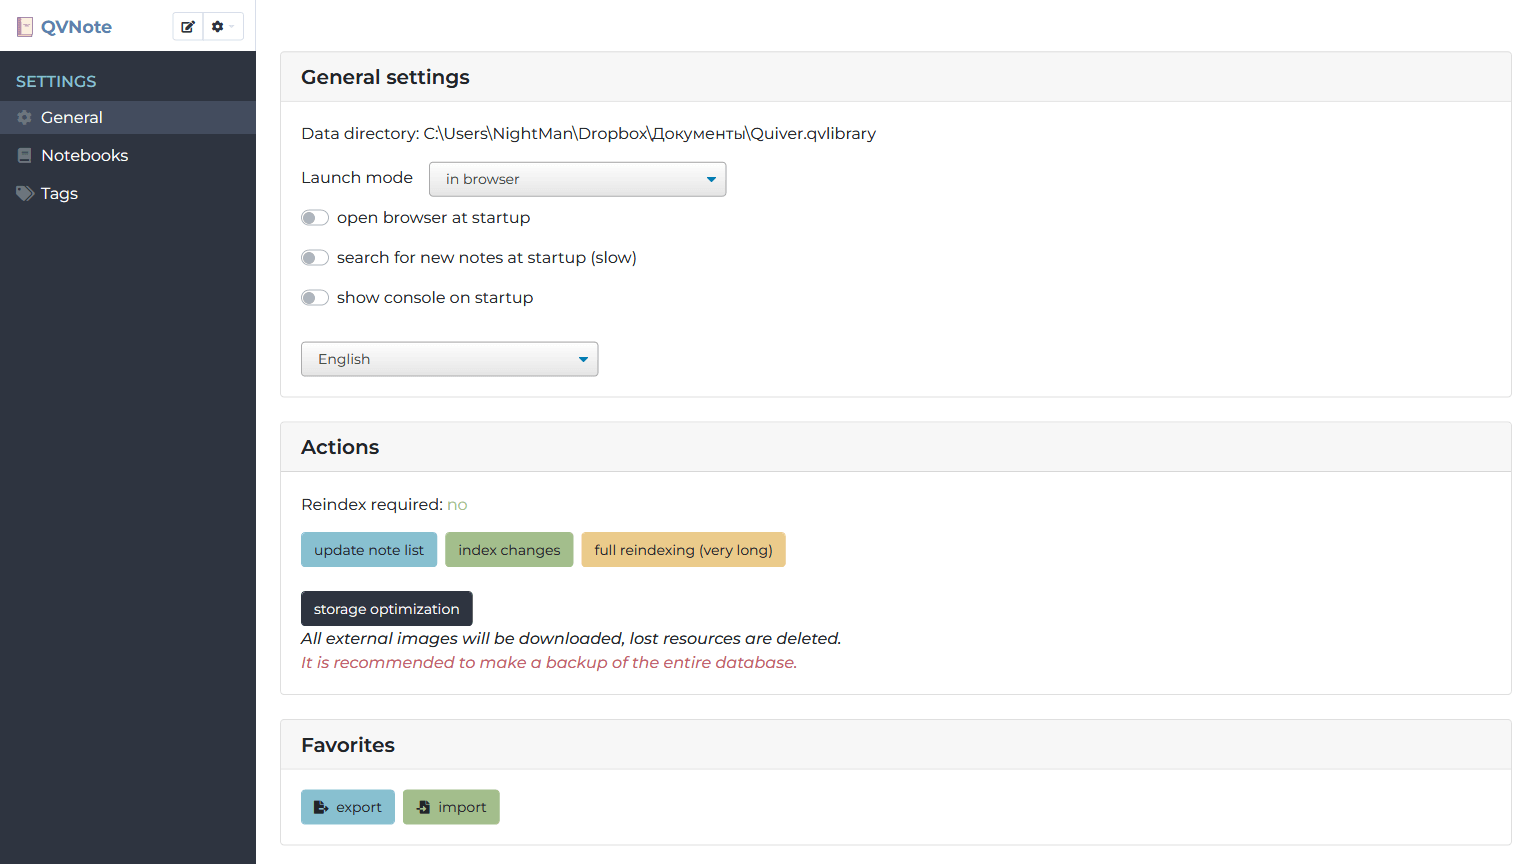
On the settings page you can see the location of the data folder, enable/disable checking for new notes at startup, and switch the interface language (English/Russian).
Buttons for global actions are displayed separately — updating the list of notes, indexing the changes, full reindexing of the search index, storage optimization and clearing the image cache.
The list of favorite notes can be exported to a JSON file and imported back — useful when moving to another computer.
On the "Notebooks" page (the button in the left menu on the settings page) it is possible to rename and delete any notebook.
The "Tags" page works in a similar way.
Something not working? Have suggestions/ideas for functionality? Write on GitHub